Recently several very good tool box restoration threads have come up, proving that a great vintage tool box can be had for not a lot of money, and a beautiful resto can be done in most garages. Many of these boxes, however, have seen a lot in their 50-100 year life, and often extra holes were drilled. You can leave them, or as I prefer to do, make them disappear.
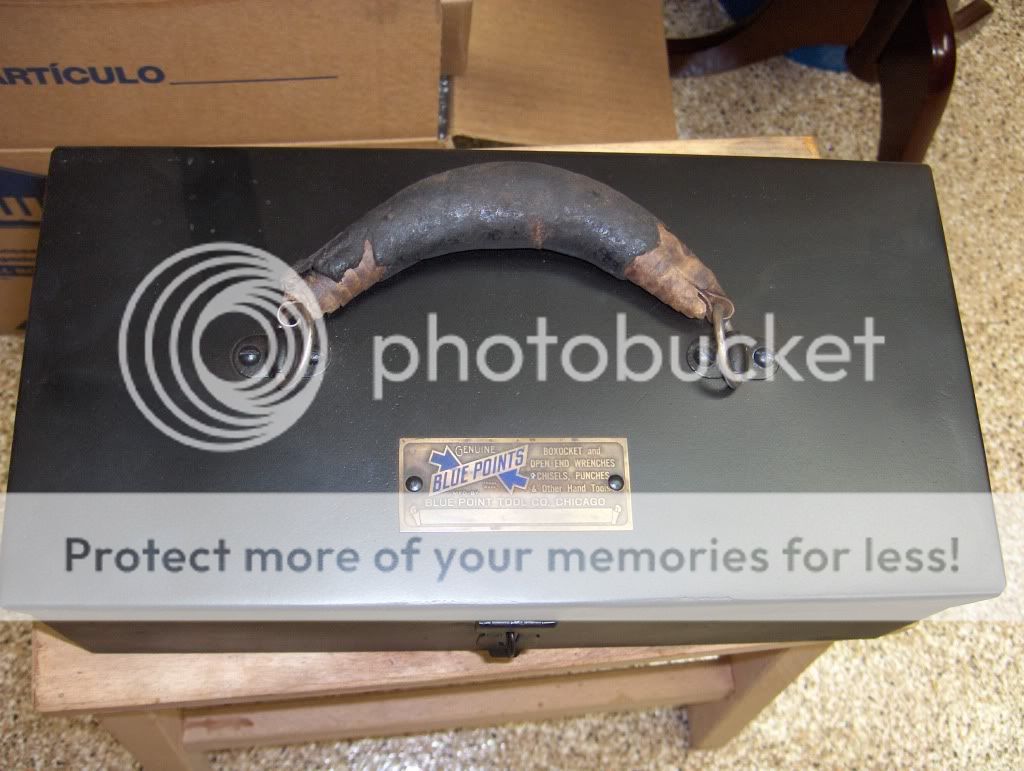
The box in question is an extremely rare box I am doing the metal work on for another snap on collector. Normally, we would leave a vintage box of such rarity alone, leaving its history and character intact. This box however, is a very significant find (I will not go any further, taking the thunder away from its owner), but was heavily covered in decals and medallions of no relation to it, repainted, and several extra holes added. It deserved a full overhaul to restore its original glory, and allow it to present itself as a piece of Snap-on history, and not look like someones fish and tackle box.
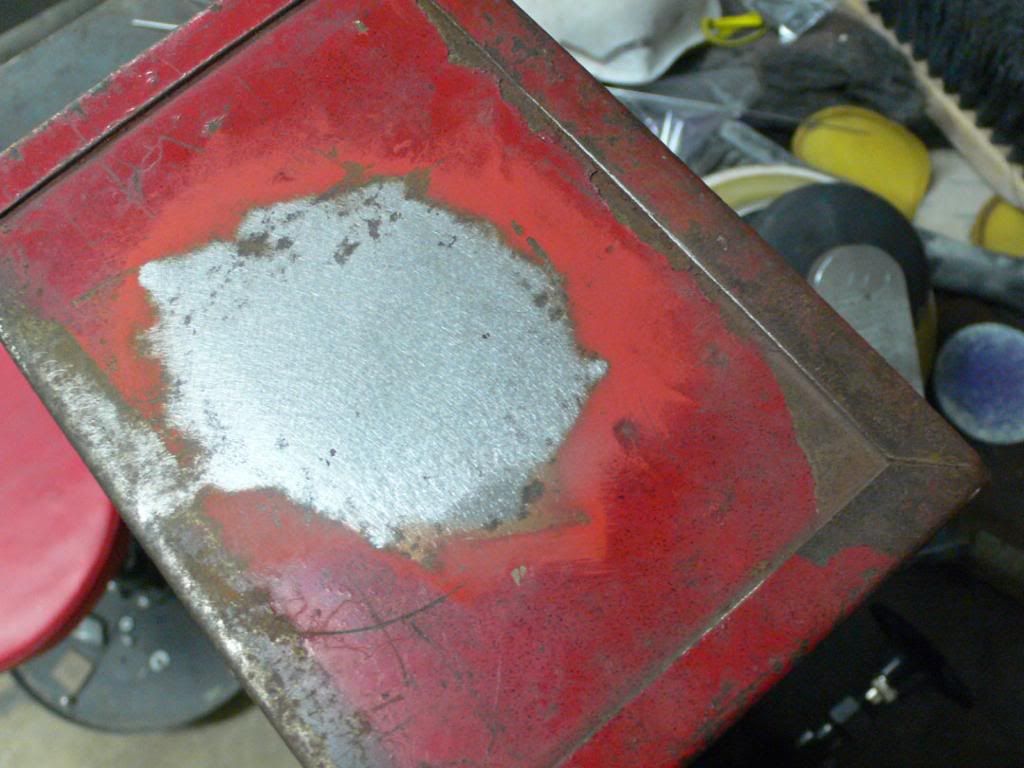
Besides a lot of dings and dents, and some extra holes, the box is very solid. The worst of the holes was one about 7/16" on one side. It looks like the hole was for a round reflector to mount on the box.
The first step is to clean the metal, inside and out. Bead blasting is not recommended until after welding, unless the metal is very putted. Media blasting can peen impurities into the metal, and any form of electric welding does not take well to impurities. I use a 3m 3" purple clean and strip pad on a die grinder. This pad removes paint and rust, without attacking the metal. Next I use a step bit to drill the hole out to the next size. This not only cleans the metal on the edges of the hole, it makes it perfectly round. A perfectly round hole is easier to make a patch for.

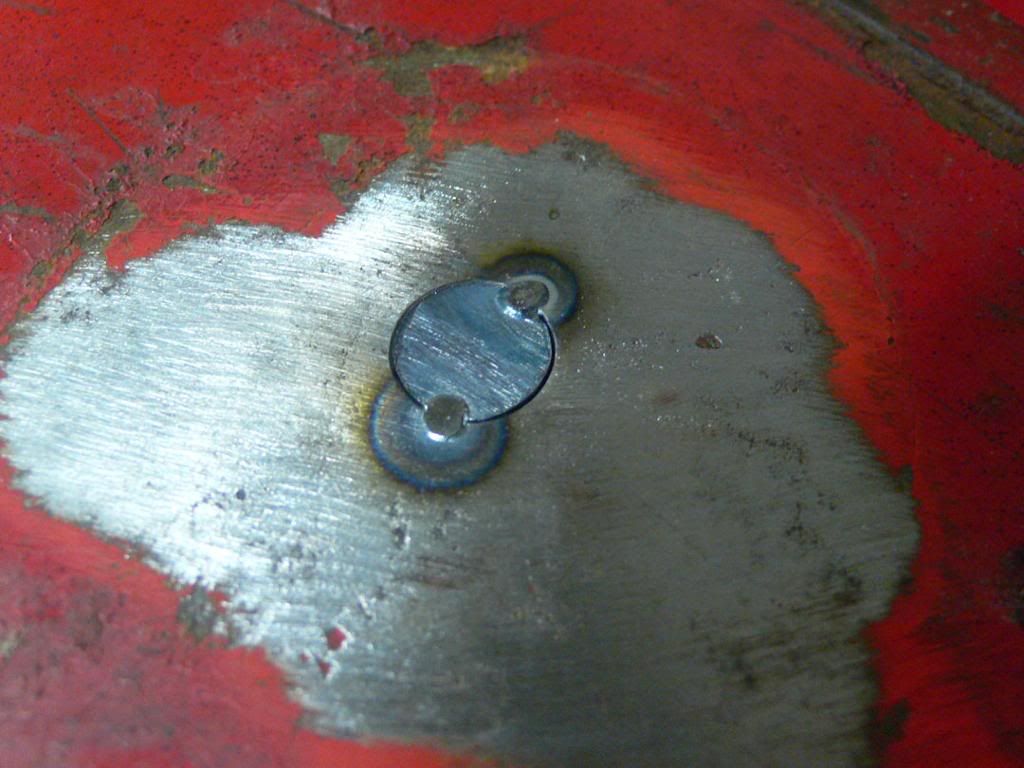
Next, you need to find he exact same gauge metal sheet stock to make a patch from. Dont skimp on this, get the right gauge! If its not the same, it will cause havoc in the welding, grinding, and hammer/dolly process. This box is 20 gauge steel. I then put some blue Dykem layout dye on the patch piece, put it under the hole, and scribe around the inside, giving me a trim line. This creates a perfectly fitting patch. Sand the edges until it fits perfectly in the hole. The better the fit, the easier the welding will be, with less distortion. I put a dolly under the hole, place the patch in, and tap a little bit with a hammer to gently stretch the patch, until it holds itself in place.

Now we have the patch in place, time to tack weld. I like to use the TIG process, as I have great control over the heat and penetration. Also, it makes a very malleable weld, that will not crack when hammer/dolly'ing, and it sands down easily. You can MIG weld this (Look into getting some ESAB Easy Grind wire), or even gas weld it if you have a very small torch (a Henrob/cobra will work great). Stick welding will NOT work for this thin stuff.
I used about 45 amps (I like to have more than I need, and use the pedal to build to where I need it. I usually like to build a puddle quickly, and then back off), a 1/16" tungsten, and .045" ER70s-6 filler rod.
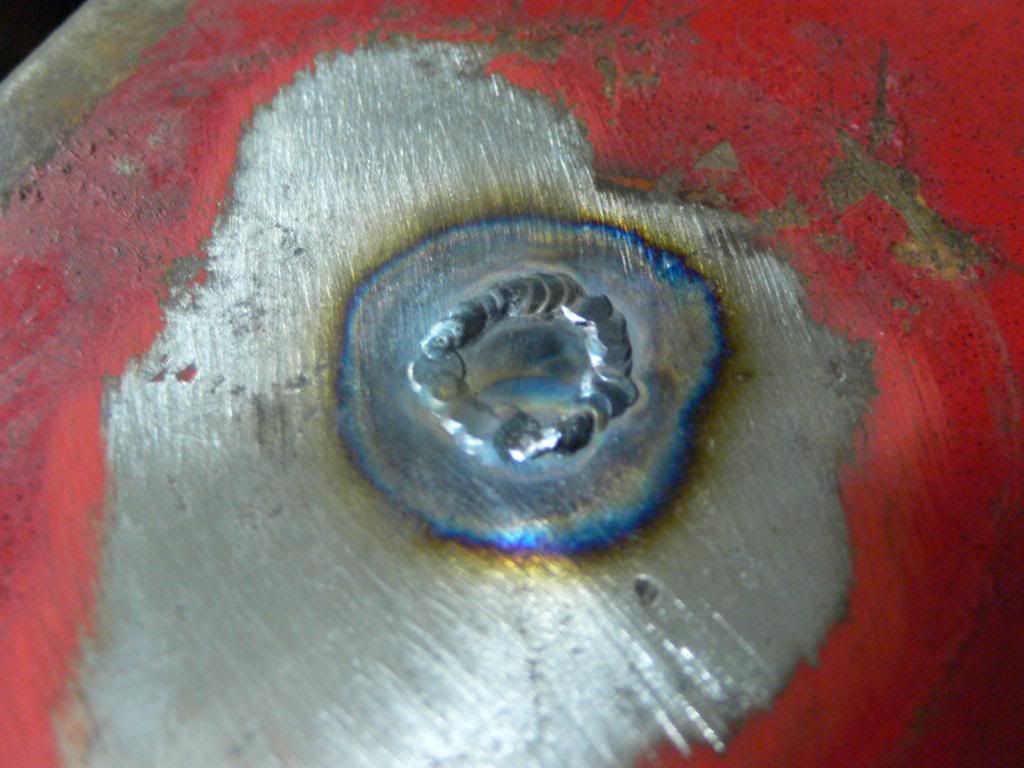
I put 2 tack welds in place, and then used a hammer and holly to take out any distortion, and bring everything into place for the next tacks.
Next I made 2 more tacks, 90 degrees from the first two, and hammer and dolie'd them. Then connected 2 tacks on each side, followed by a bit more hammer and dolly work.
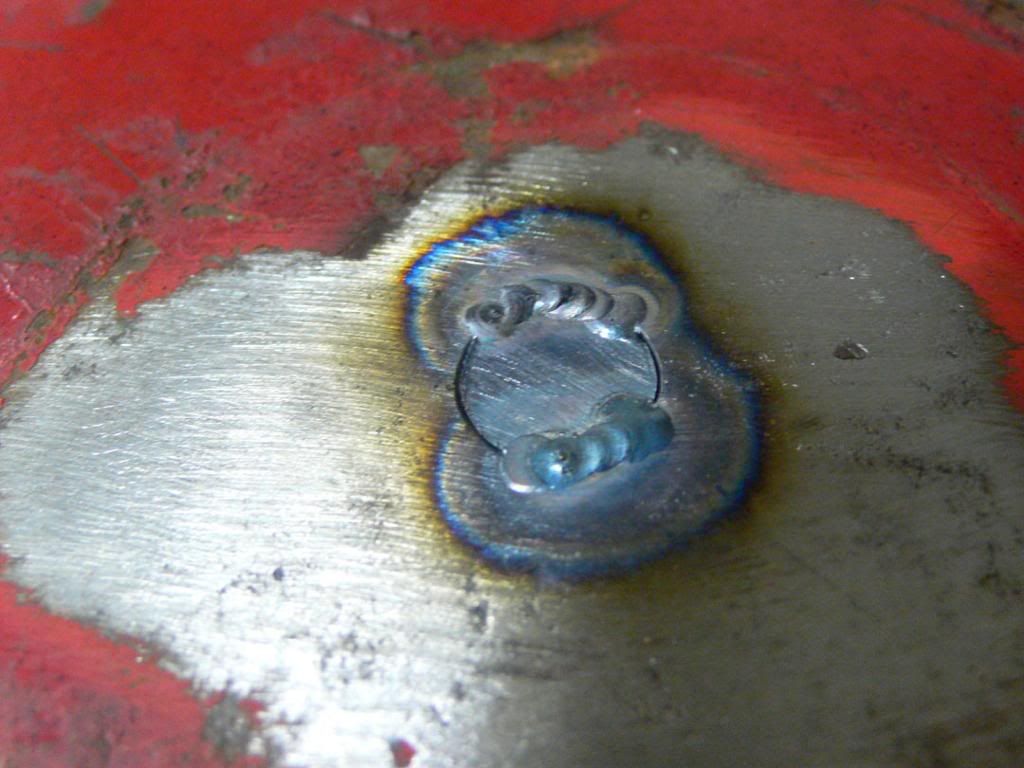
Then, I final welded.
Next I took down the weld bead very carefully with an 80 grit roloc on a die grinder. Its important to grind only on the weld, and not the parent metal. I then followed by some hammer and dolly work to get it nice and straight. I finished the repair off with 180 grit on a 6" DA sander. At this point, you can no longer see that a hole was ever there.